Webspace: Create SSL certificate
Encrypt website with SSL
It is assumed that the domain already points to the IP of the web space.
If a domain is created in the web space, it is always unencrypted at the beginning. This can be seen in the Plesk panel:

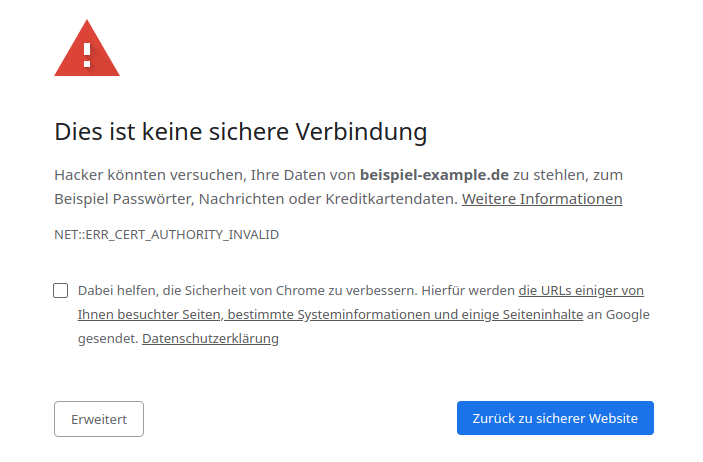
And the notification in the browser when opening the domain:
With an SSL certificate, a domain can be protected/encrypted accordingly.
Creation of the Certificate
Step 1️⃣: With a double click on "SSL/TLS Certificate" the following menu opens:

A Let's Encrypt Certificate can be requested free of charge.
Step 2️⃣: Enter/fill in the required information. In order for the certificate to be requested, details must be provided.
A mail address must be specified and a check must be made of what the certificate should be valid for. As a rule, each domain also has the subdomain "www" active, which is why it is also selected if it has also been entered in the DNS of the domain.

The certificate is then requested by clicking on "Get it free".
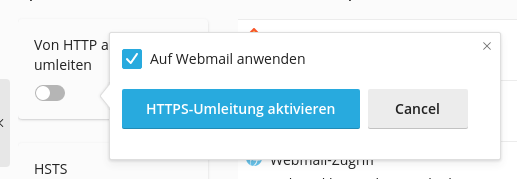
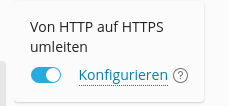
Step 3️⃣: The certificate has now been created, this can be seen at the top right. In addition, the automatic forwarding from HTTP to HTTPS must now take place, since otherwise encryption cannot be established:
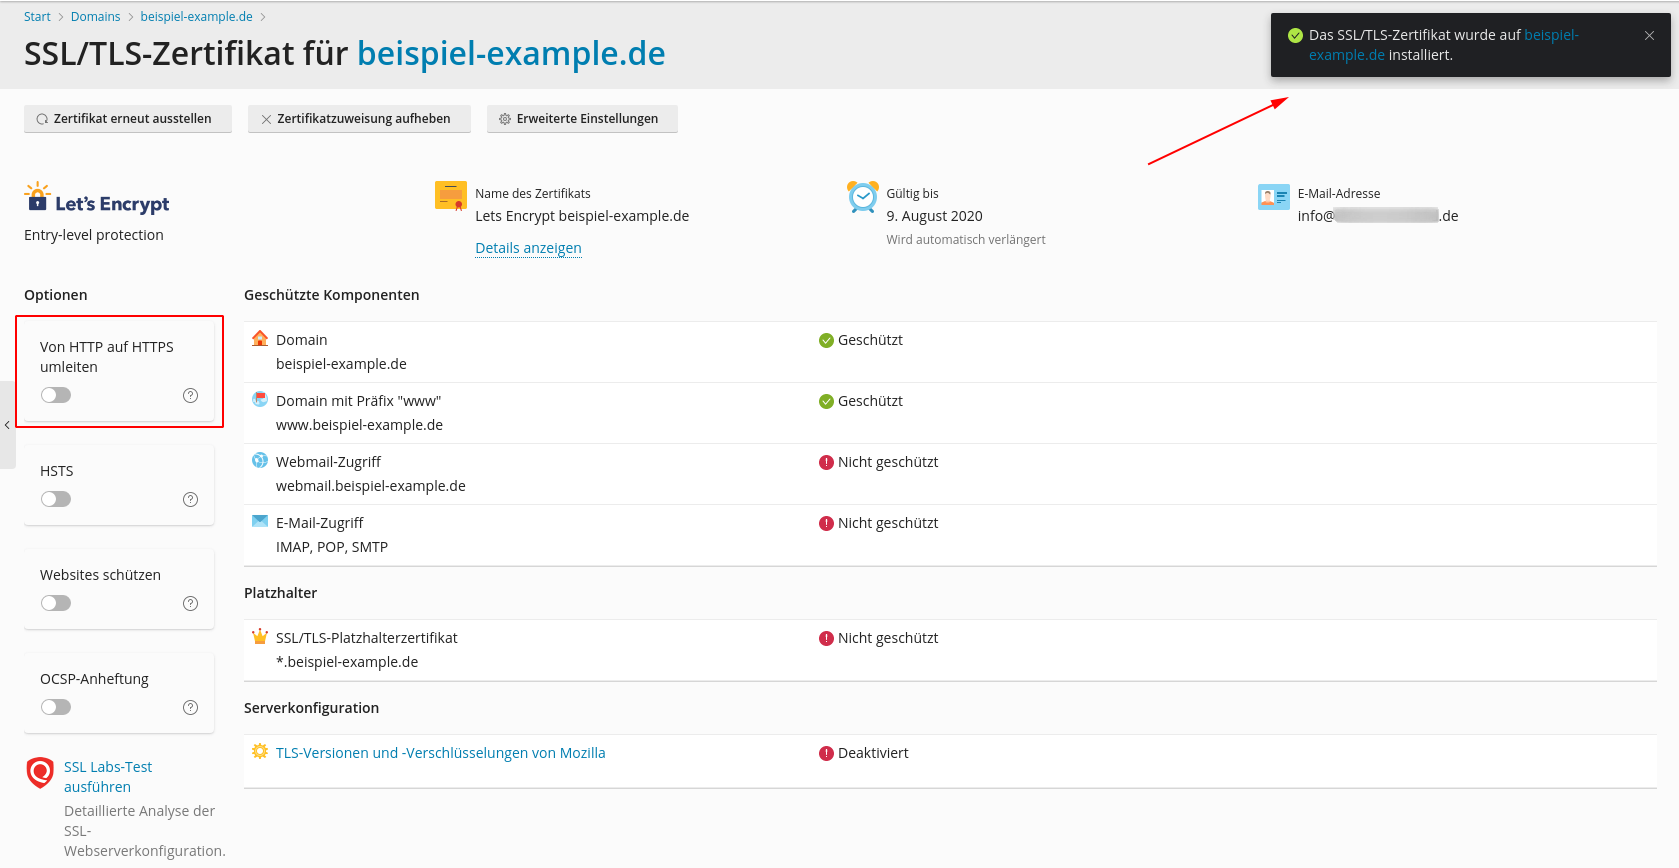
If this has been done, the forwarding is now active. No matter whether you open the page with http or https directly in the browser, it is now always directed to https.
Step 4️⃣: Now you can check in the browser whether the certificate has been recognized:
The lock must be present:
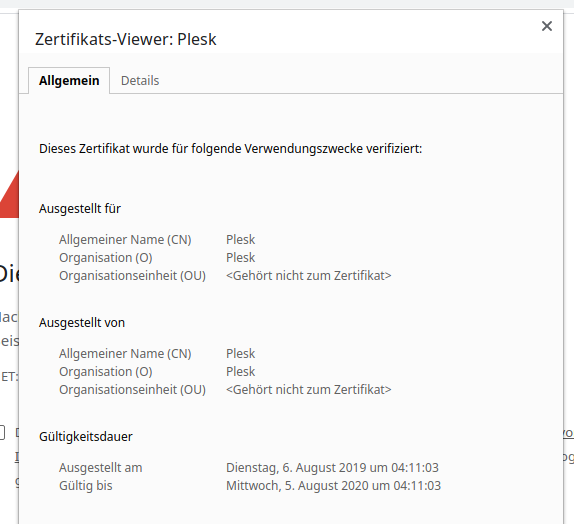
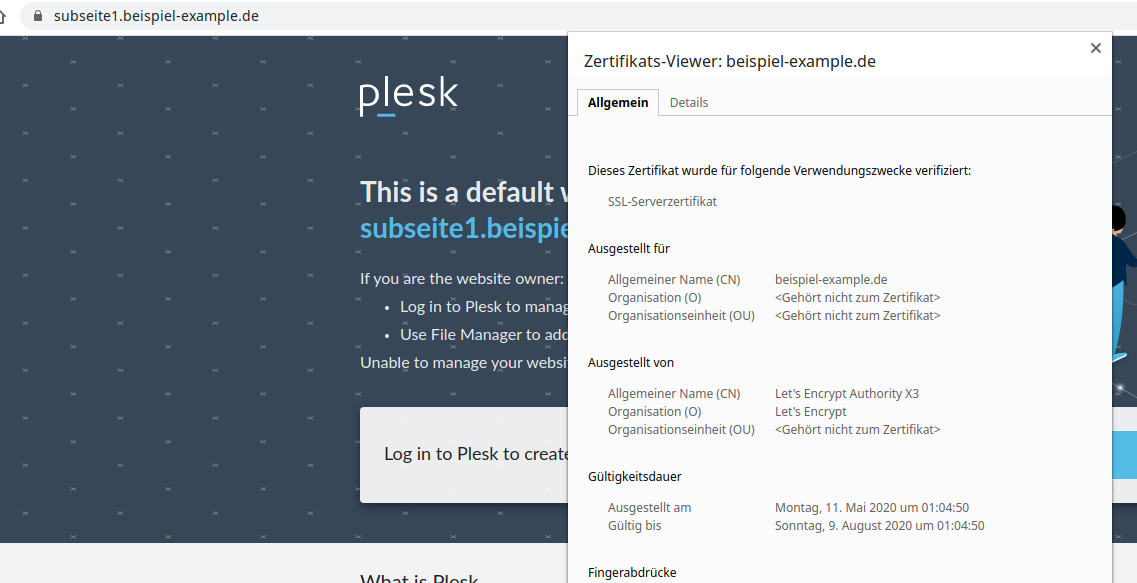
The certificate info, which can be opened by clicking on the lock, should also show the domain:
The website is now properly protected/encrypted.
Certificates for Subdomains
The same steps can theoretically also be followed for a subdomain. However, there is also an easier way to encrypt all subdomains at the same time, regardless of whether they already exist or which are new. A "wildcard certificate" can be used for this. This requires a special TXT entry in the DNS of the domain. As soon as it is available, however, it can issue an SSL certificate for all subdomains.
Step 1️⃣: The SSL/TLS certificate menu is opened again.

Then click on "Renew Certificate" in the top left. Now the Let's Encrypt request window opens:

Now select "Secure the wildcard domainn":
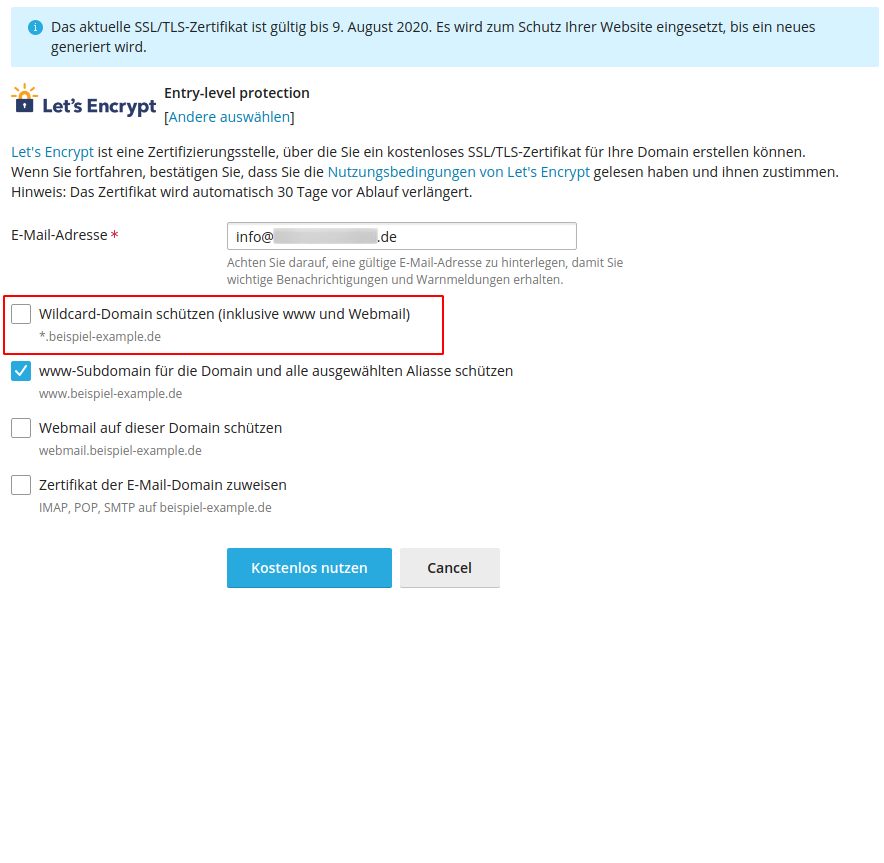
The subdomain "www" and "webmail" are automatically added. The button "Get it free" is then clicked again.
Step 2️⃣: A blue box now appears with important information:

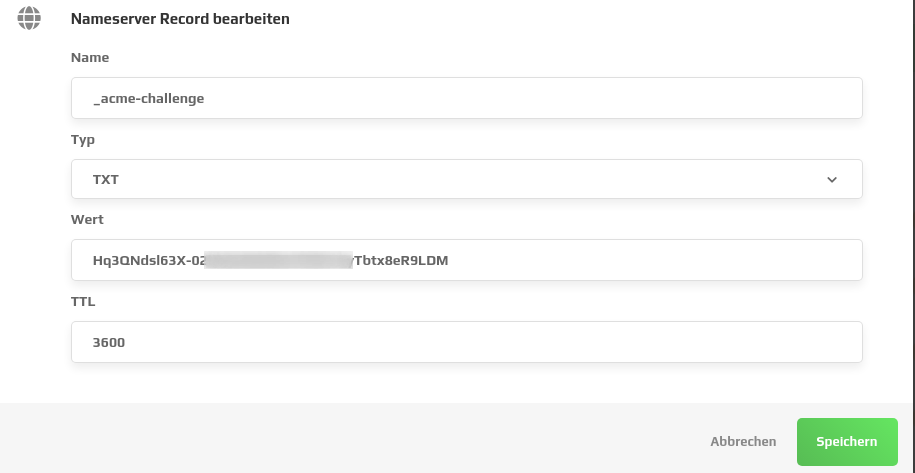
A domain name and a value are given there. This must be permanently available as a TXT in the DNS of the domain, this is the only way Let's Encrypt can ensure that the domain is genuine and can be verified.
An entry in the DNS should look like this:
A DNS entry can take up to 24 hours to be accessible from anywhere in the world.
To ensure that the TXT entry is already active, the "TXT Lookup SuperTool" from mxtoolbox can be used: https://mxtoolbox.com/SuperTool.aspx:
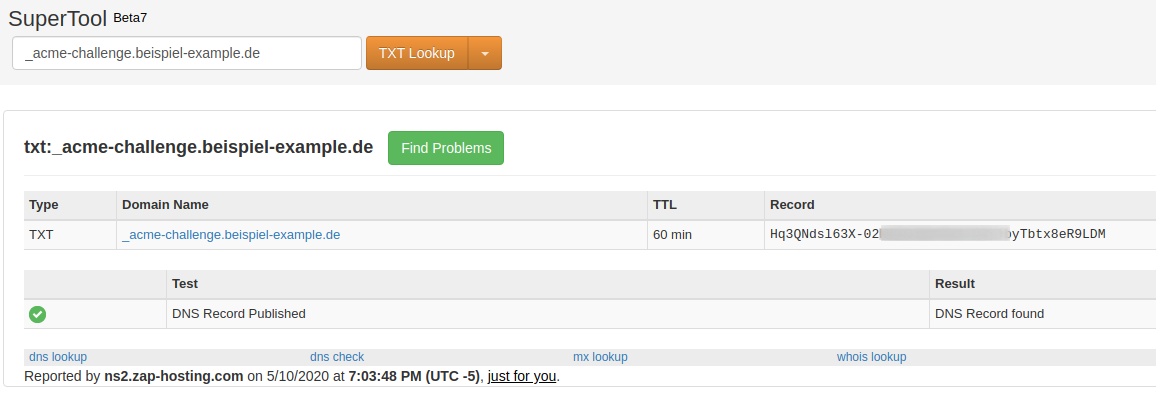
If the entered entry is already displayed, it can be confirmed in the blue box in Plesk by clicking on "Reload". Now it is checked whether the DNS entry is present, since this is the case, after a few seconds "protected" is displayed for "SSL/TLS-holder Ccertificate" aka "Wildcard Certificate":

If a subdomain is now created, it is already protected:
Now the complete data transfer is encrypted to the side, done.